Uninstalling and Installing Anaconda
 滑翔闪 included in Software Tools and Python Environment Setup

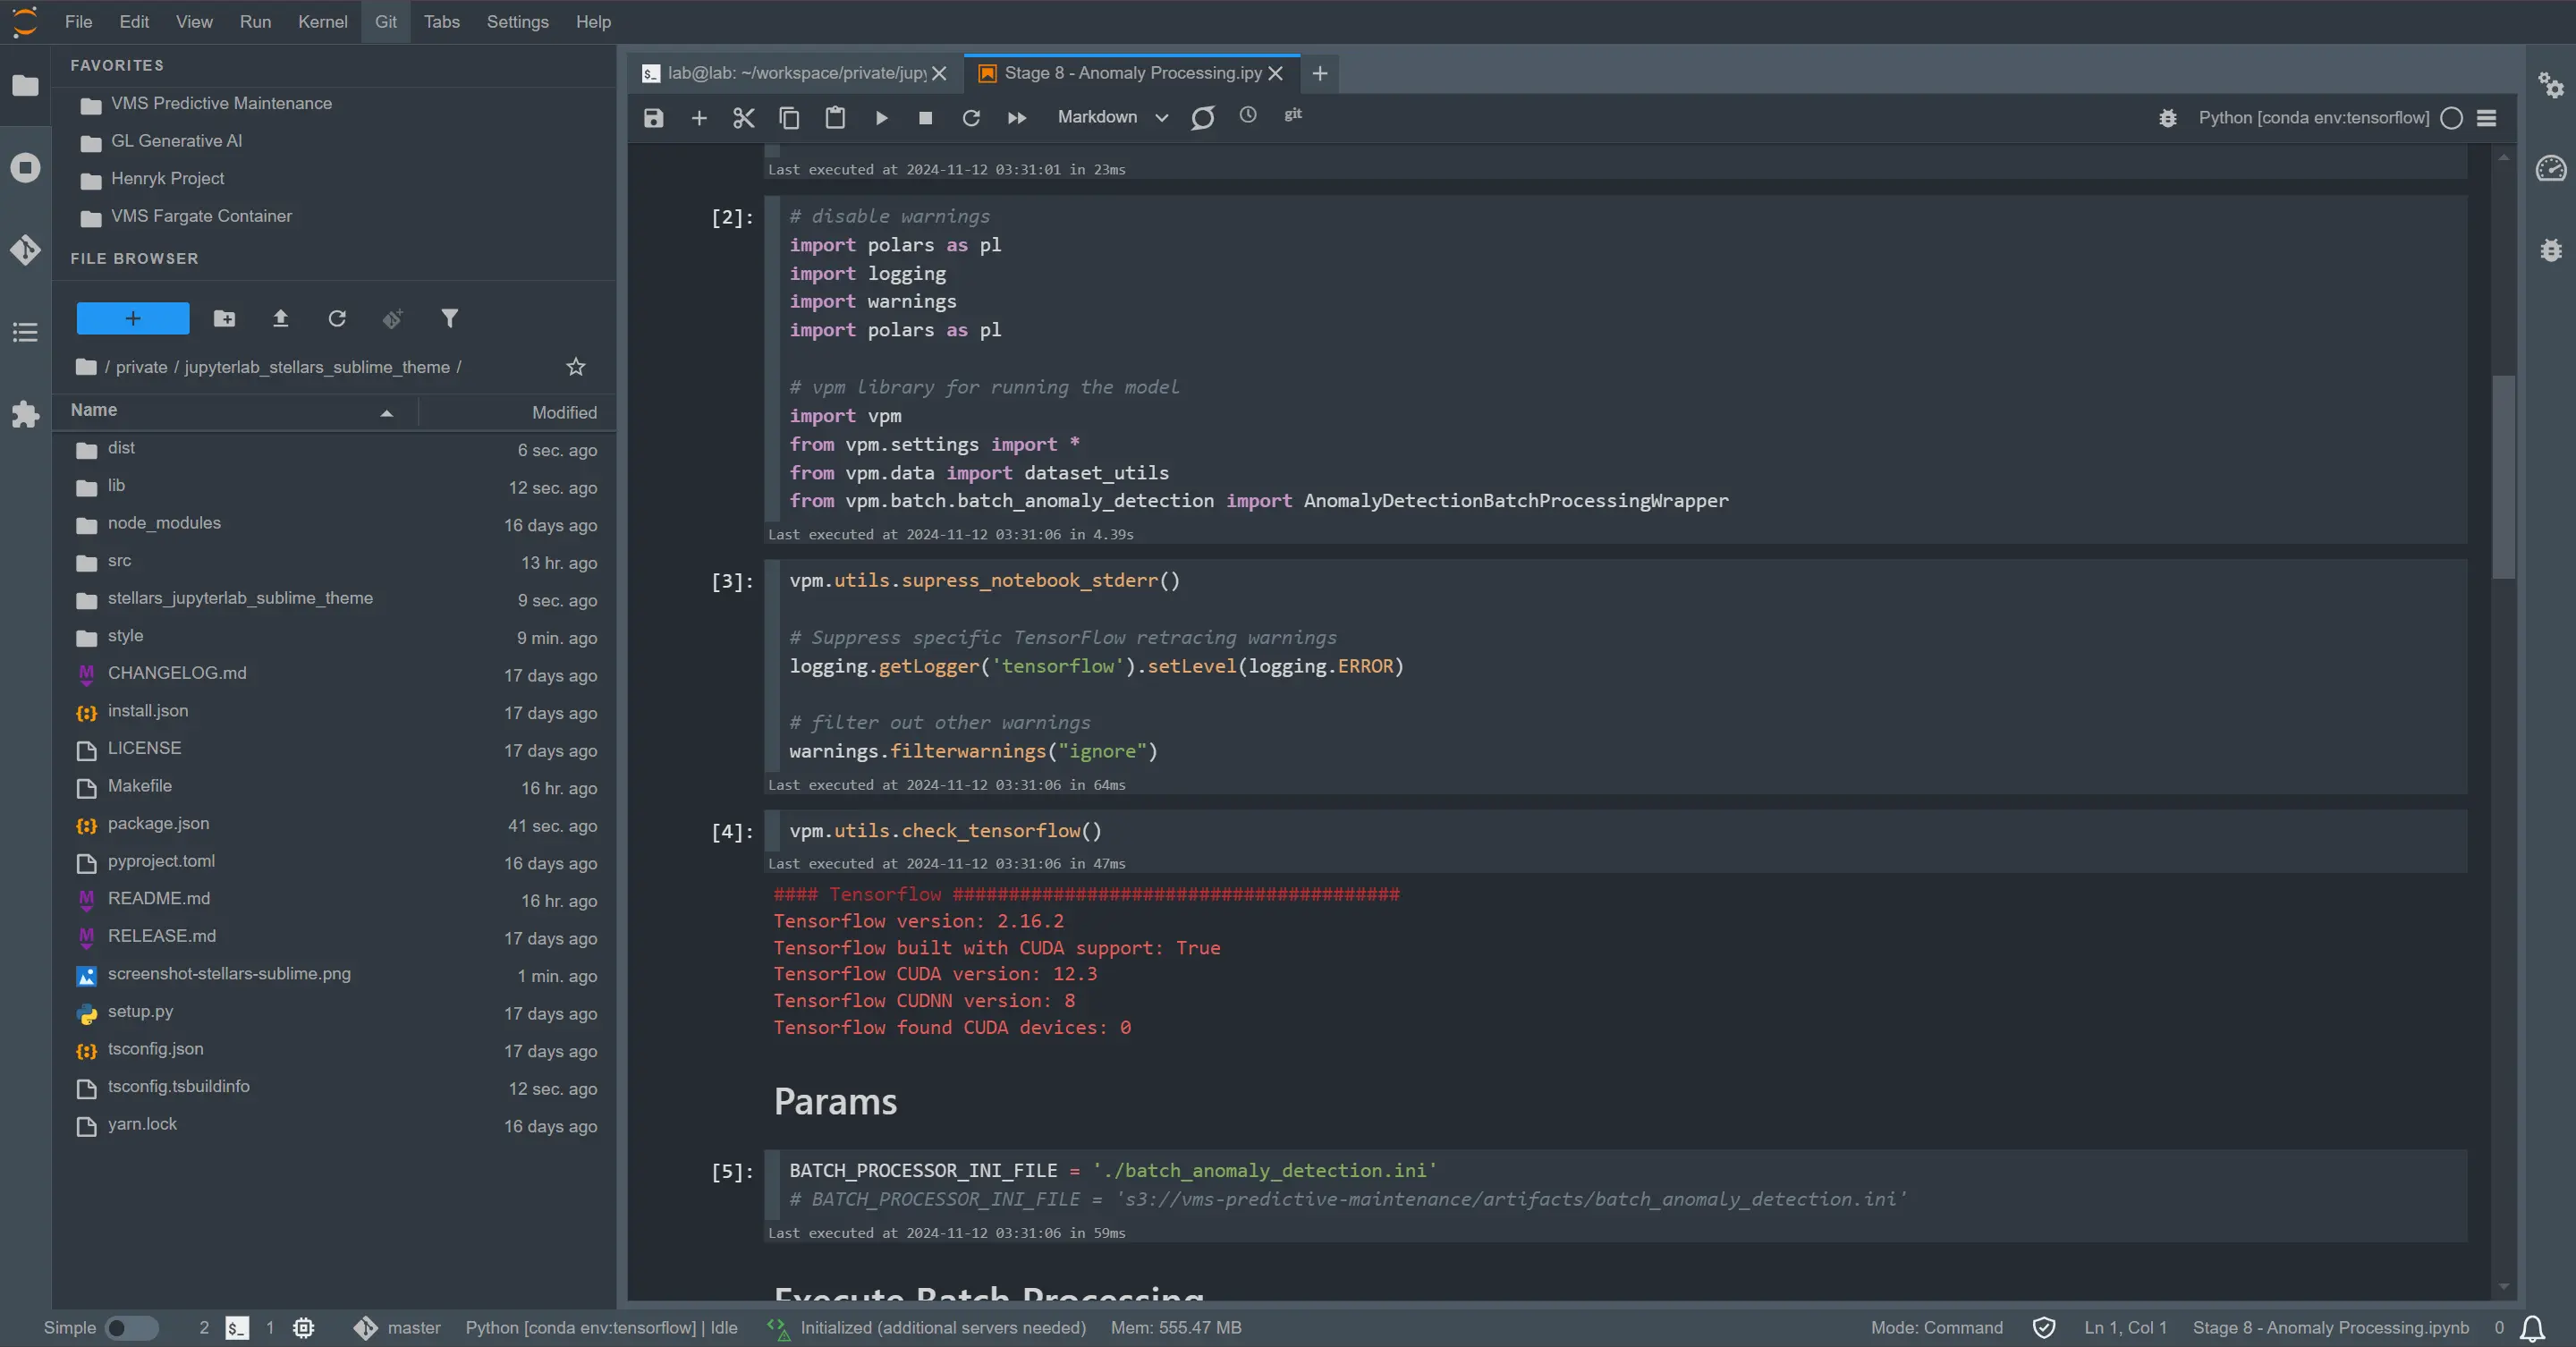
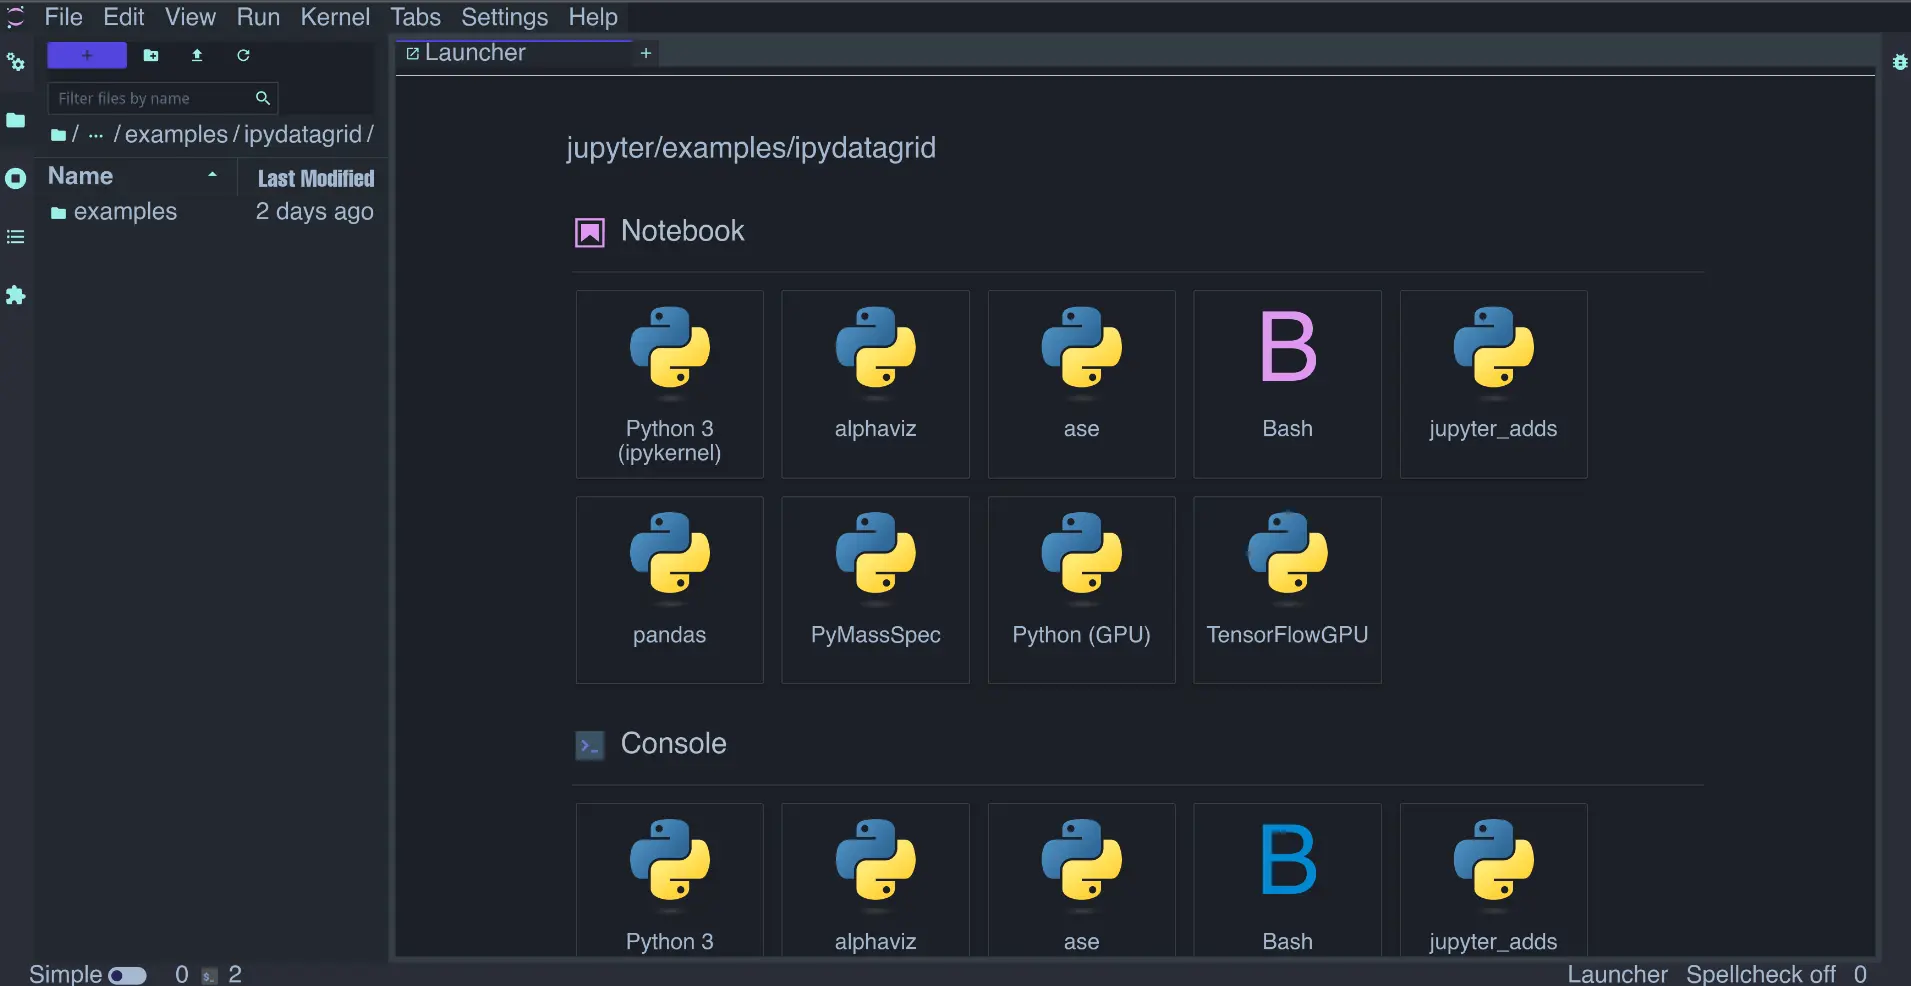
After anaconda crashed for the second time, I understood why people so highly recommend vscode and pycharm as practical ides for python. But I still quite like the idea of using the browser as an ide. Compared to notebook, I prefer jupyter, so I’ve decided to redo the whole installation process here.
Uninstalling anaconda
Open anaconda prompt , download and run the uninstall command.
Its purpose is to clean up Anaconda’s config files and environment settings.
| |
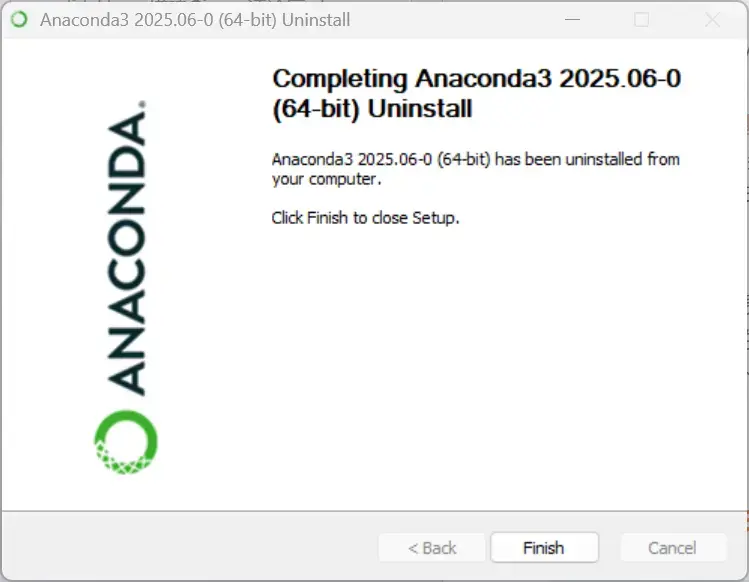
Next, open the folder where you previously installed anaconda and run the uninstaller Uninstall-Anaconda3.exe. For example, mine is at D:\anaconda\anaconda.
Installation
Download one from the official site and install it all the way through.
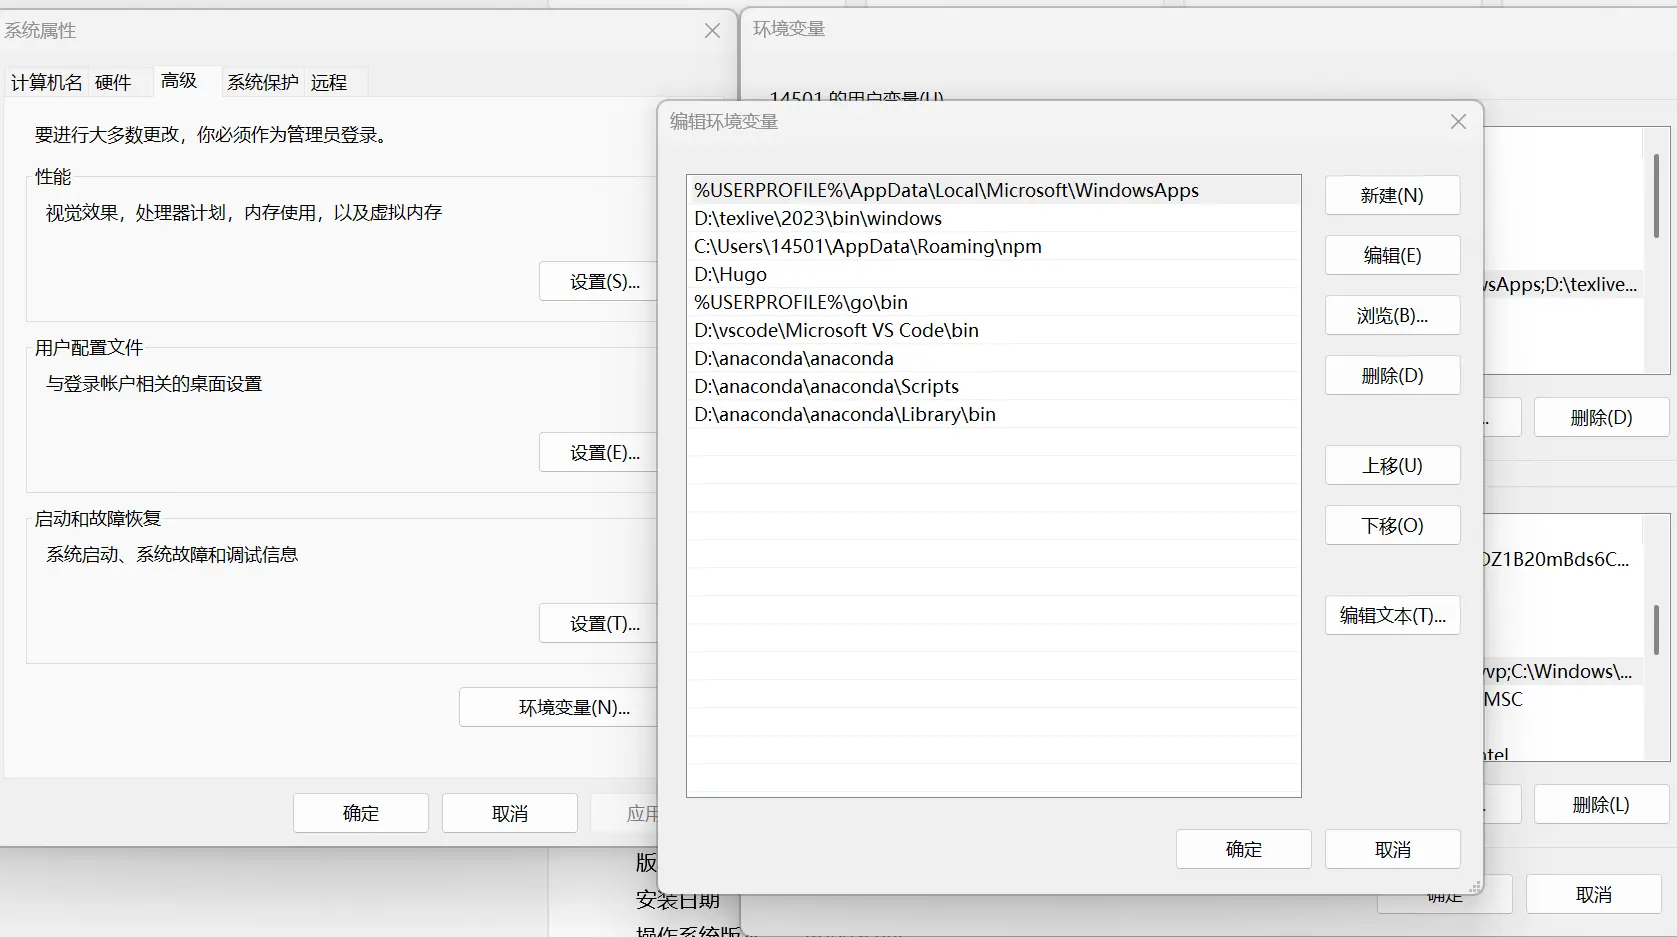
After installing, add path in the computer’s advanced environment settings: the first one is your own install path.
| |
Jupyter shortcuts and working directory
To make it easier to launch, first create a shortcut pointing to jupyter.
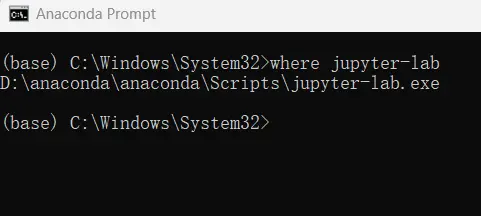
Type where jupyter-lab in anaconda prompt to find the location. Then search online for a matching .ico icon. I recommend downloading from this site.
jupyter opens by default.
Enter the following command in anaconda prompt to create the settings:
| |
Next, find the generated config file C:\Users\<your username>\.jupyter\jupyter_notebook_config.py.
Search for notebook_dir inside it and change it to the directory you want:
c.ServerApp.notebook_dir = 'D:\PyTorch_practice'.
Pytorch environment setup
For deep learning, you need to first download cuda, then set up an environment where pytorch can run.
See CUDA download. The key point is to match the corresponding cuda version with the pytorch version when downloading. For example, I downloaded cuda 12.4, but since the latest pytorch hadn’t adapted to cuda 12.4 yet, I chose to download a pytorch environment suited for cuda 12.1.
Next, open anaconda prompt to set up the environment.
Although the latest python is 3.13, the most compatible version is 3.11. Now let’s create the jupyter environment:
Specify the python version and manage environments uniformly on the D drive.
| |
| |
Switch to the corresponding environment and install pytorch-related packages:
| |
| |
Some python packages I commonly use:
- Install in batches, otherwise it’s easy to hit conflicts and freezes. (The symptom is that in Task Manager, python’s disk usage stays at 0 for a long time but the download doesn’t finish.)
- In the future, also be careful to reduce mixing pip and conda. Mixing itself doesn’t hurt, but when there are many packages it can crash the environment.
- When downloading python, you can reasonably turn off security software like Huorong, as these programs slow disk write speed.
| |
Register the jupyterlab kernel
| |
Jupyter plugins and appearance
Chinese language pack download (needs to run in the base environment)
| |
Plugins I personally recommend:
- variableInspector: you can click to view the data attributes of the current code.
- execute-time: view the runtime record of the current code.
- upyterlab-lsp: code auto-completion.
Theme plugins I quite like:
Of course, dark mode is a must.
jupyterlab_stellars_sublime_theme
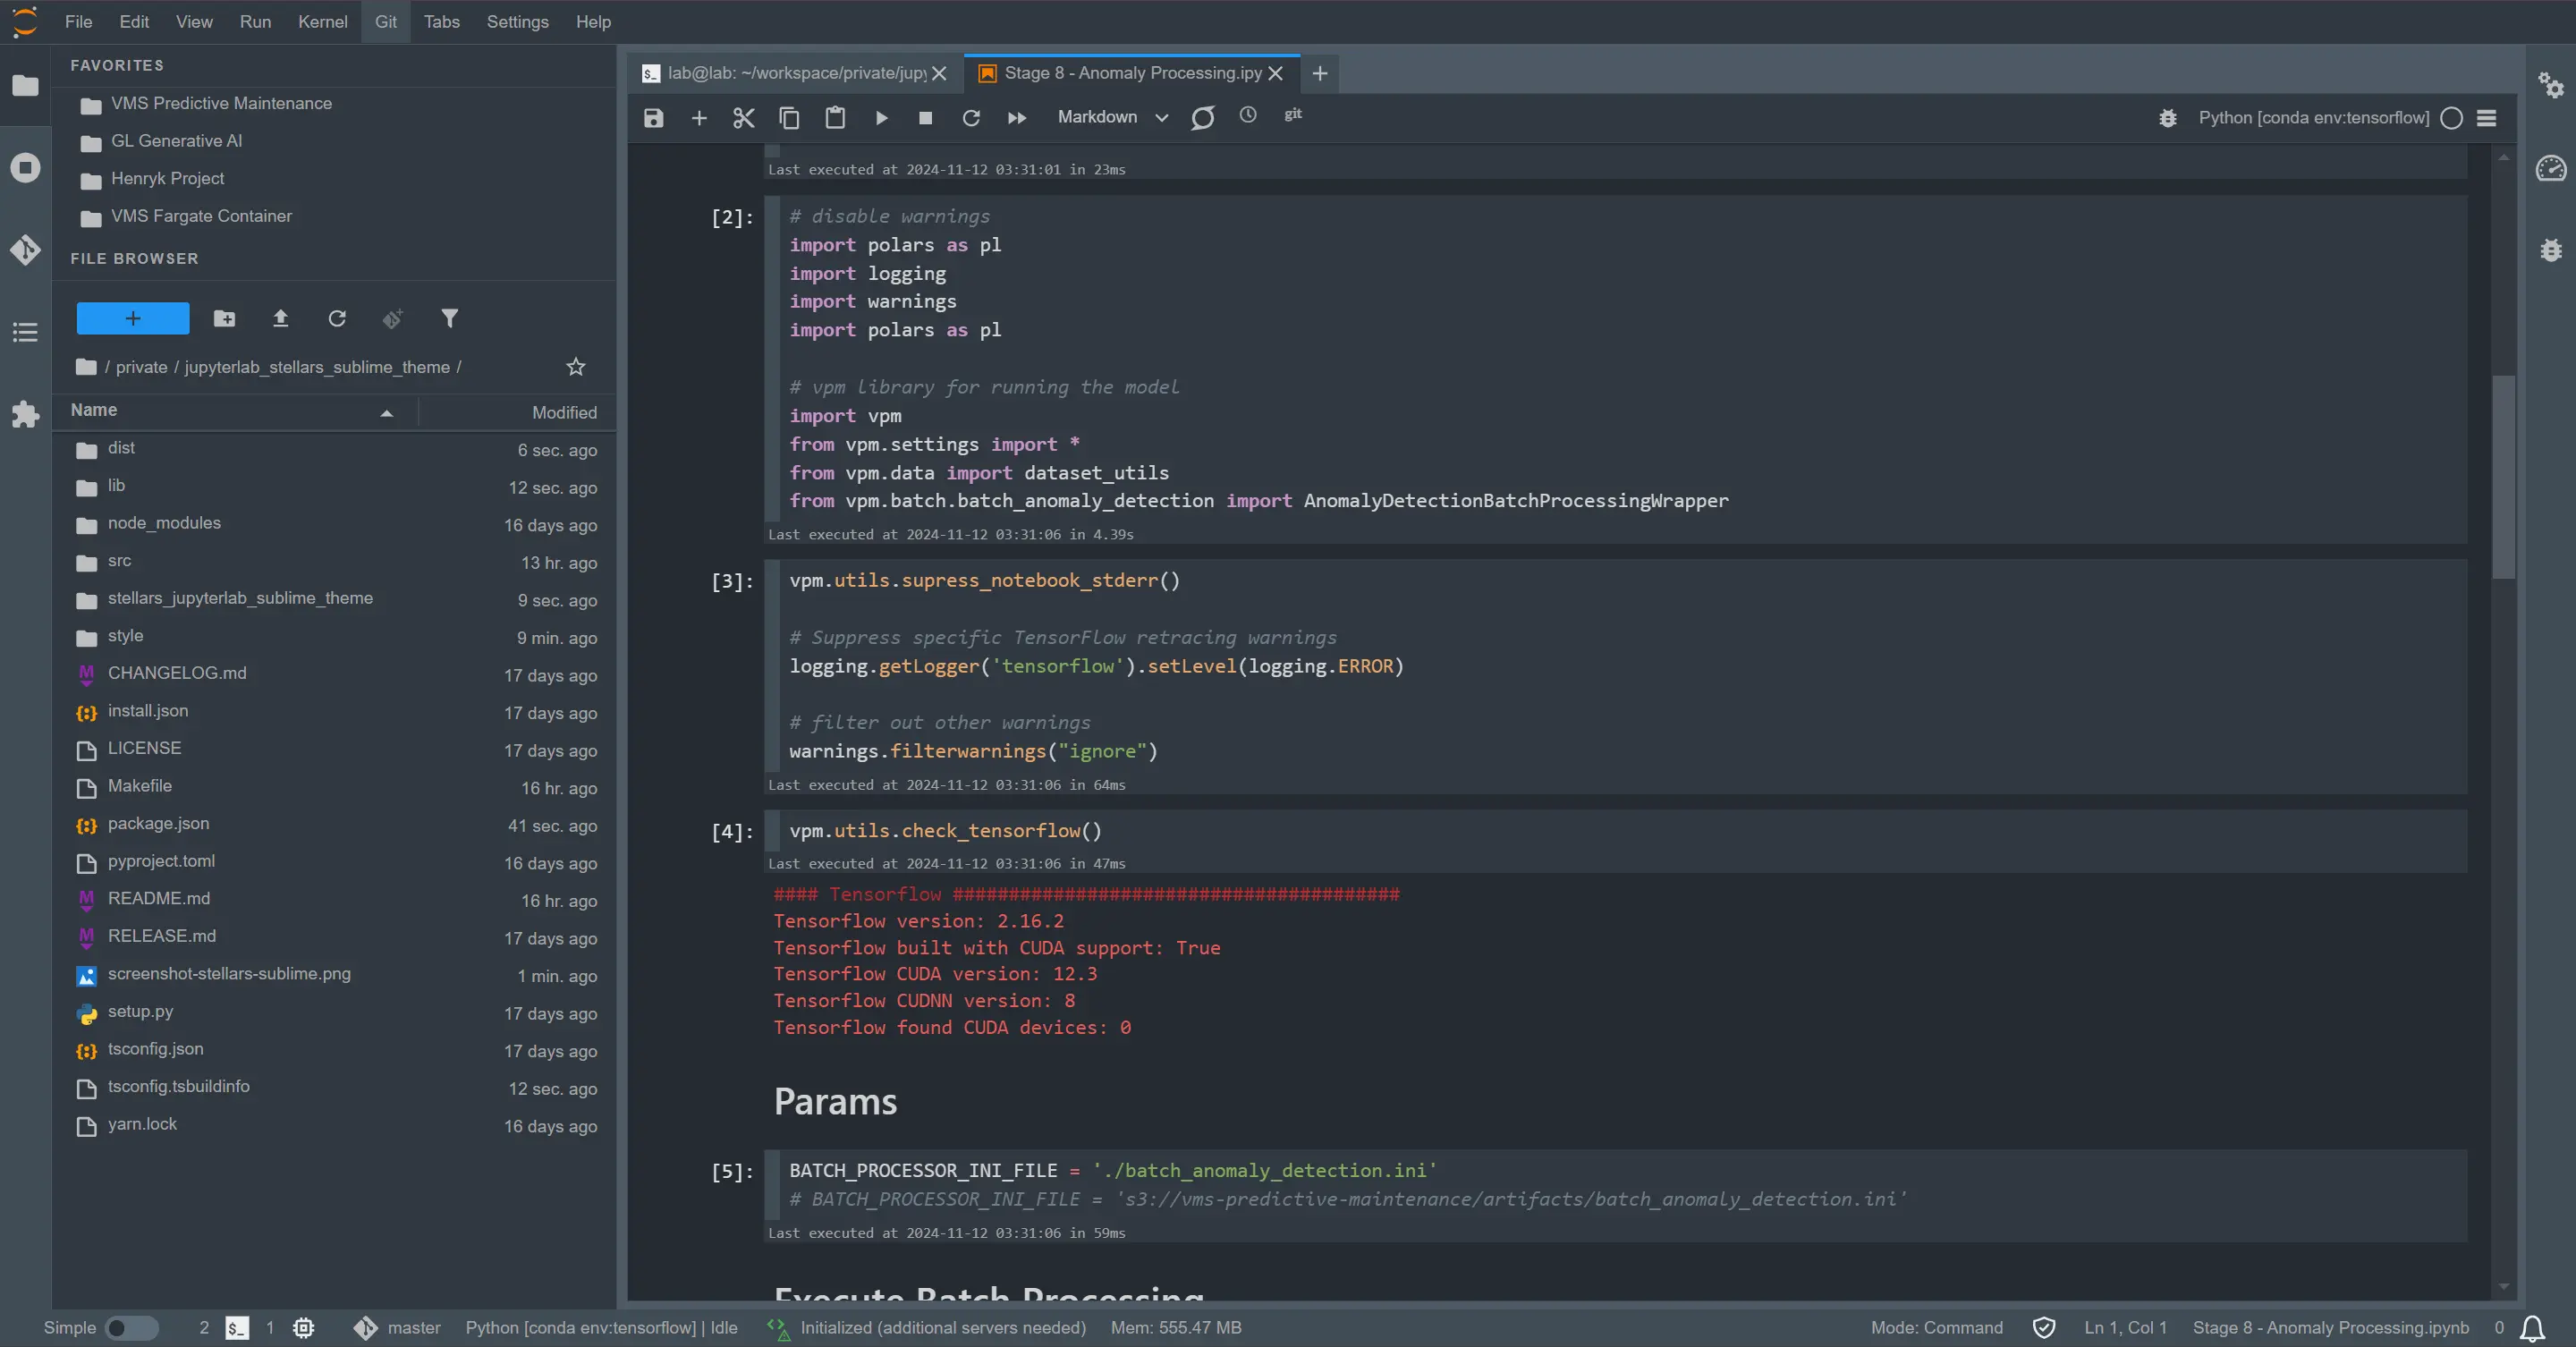
jupyterlab_stellars_sublime_theme