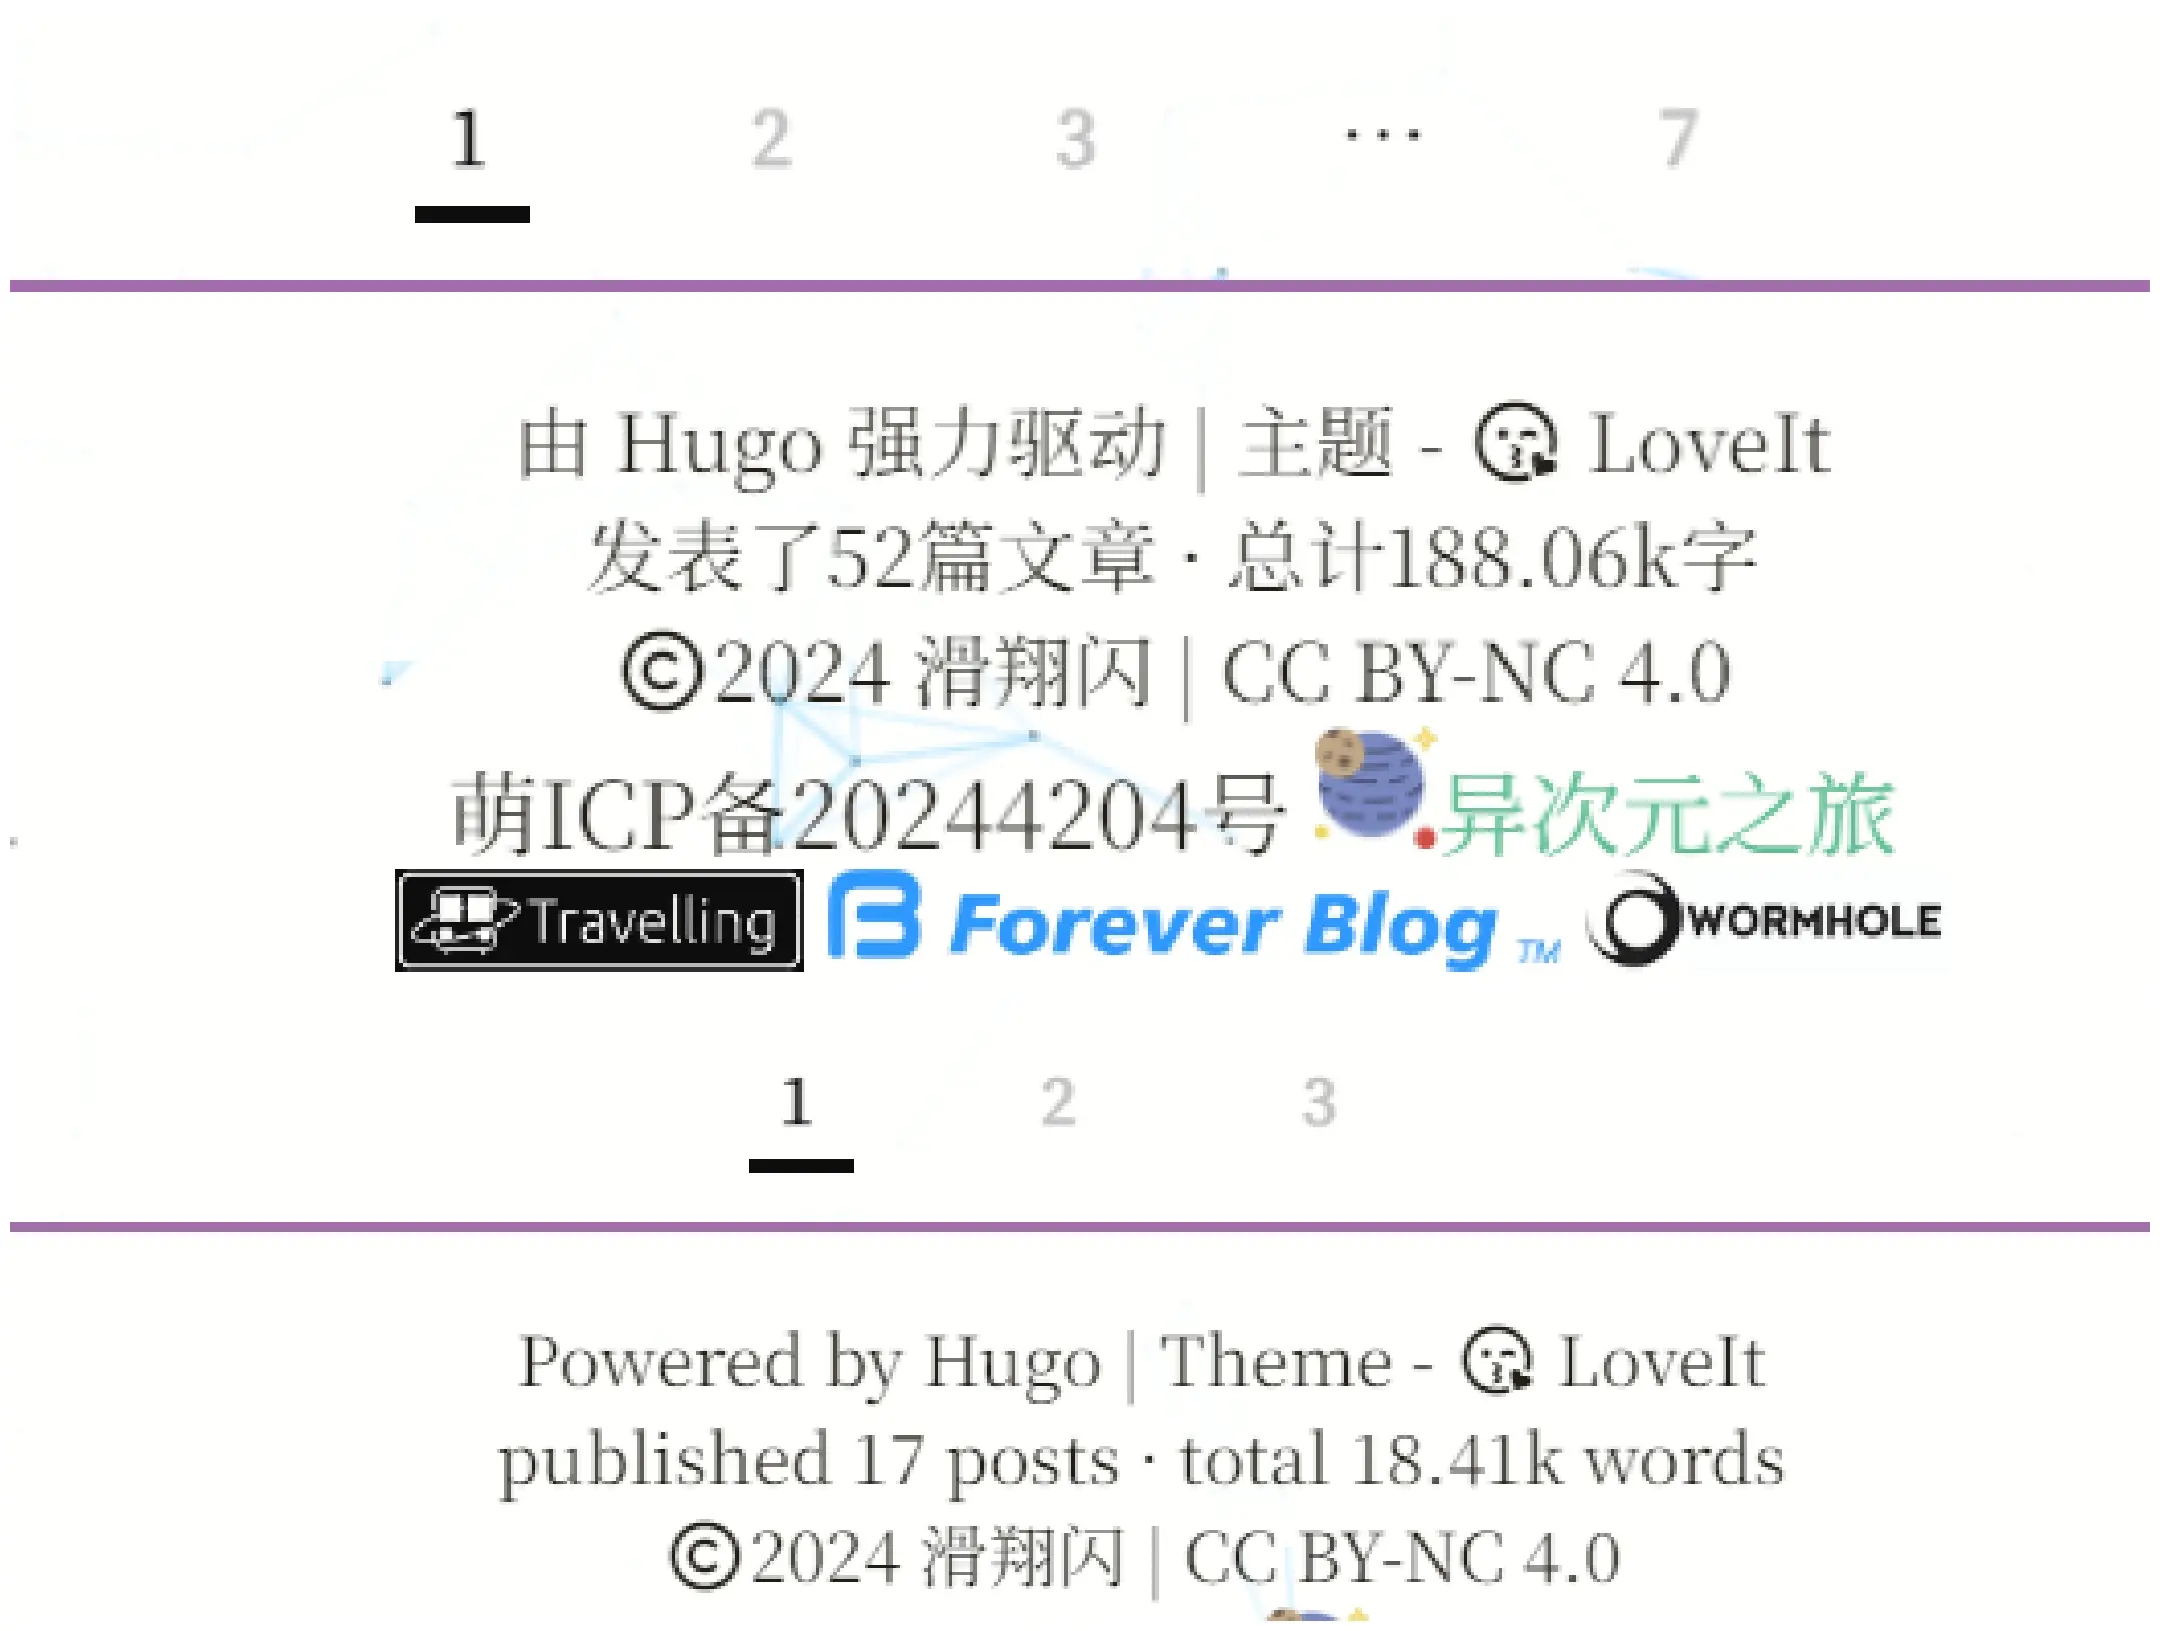
# === footer/wordcount ===
[articleCount]
other = "发布了 {{ .Count }} 篇文章"
[totalWordCount]
other = "共 {{ .WordCount }} 字"
and add the following in en.toml:
1
2
3
4
5
6
7
# === footer/wordcount ===

[articleCount]
other = "published {{ .Count }} posts"

[totalWordCount]
other = "total {{ .WordCount }} words"
Multilingual switching is clearly a one-to-one character match.
So in the i18n file, each [call name] can only have one other=, and [call names] must not be duplicated, so that characters can be switched one-to-one automatically.
A bug
If, like me, you added a music player to every blog post page via aplayer, you’ll hit a bug.
Hugo’s built-in word count conflicts with aplayer. A pure-music player will disappear, while a player with lyrics might stick around. The reason is unknown. When rendering locally, updating the blog content and triggering a refresh makes the music player reappear, but after uploading to GitHub for rendering it doesn’t work.
Updated February 21, 2026
Recently I used Claude Code with the DeepSeek v3.2 model to test this bug.
I found the music plugin’s failure is roughly due to this:
The LoveIt theme uses Hugo’s Scratch system as a “feature flag” mechanism:
The music shortcode sets this when it executes: {{- .Page.Scratch.SetInMap "this" "music" true -}}
assets.html checks: {{- if (.Scratch.Get "this").music -}} to load the music assets.
To get the WordCount, Hugo needs to compute each post’s content, which resets the page’s Scratch state. In the process, the Scratch state that was maintained within a single rendering pass gets disturbed.
My personal observation is that whether a comment plugin is installed also affects this bug, seemingly for the same reason — the Scratch state value appears to be cleared.
In the comment section, layouts/partials/comment.html has code like this:
/* Site runtime */// Get the current language setting
functiongetCurrentLanguage(){// Assume you have a global variable or method to get the current language
returndocument.documentElement.lang||'zh';// Defaults to Chinese
}// Update the site runtime
functionruntime(){window.setTimeout(runtime,1000);letstartTime=newDate('02/18/2024 15:00:00');//Write your own site launch time here
letendTime=newDate();letusedTime=endTime-startTime;letdays=Math.floor(usedTime/(24*3600*1000));letleavel=usedTime%(24*3600*1000);lethours=Math.floor(leavel/(3600*1000));letleavel2=leavel%(3600*1000);letminutes=Math.floor(leavel2/(60*1000));letleavel3=leavel2%(60*1000);letseconds=Math.floor(leavel3/(1000));// Select the corresponding text based on the language setting
letlanguage=getCurrentLanguage();letruntimeText;if(language==='zh'){runtimeText='本站已运行<i class="far fa-clock fa-fw"></i> '+((days<10)?'0':'')+days+' 天 '+((hours<10)?'0':'')+hours+' 时 '+((minutes<10)?'0':'')+minutes+' 分 '+((seconds<10)?'0':'')+seconds+' 秒 ';}elseif(language==='en'){runtimeText='Running for <i class="far fa-clock fa-fw"></i> '+((days<10)?'0':'')+days+' d '+((hours<10)?'0':'')+hours+' h '+((minutes<10)?'0':'')+minutes+' m '+((seconds<10)?'0':'')+seconds+' s ';}else{// Default text (you can choose another language or keep Chinese/English)
runtimeText='本站已运行<i class="far fa-clock fa-fw"></i> '+((days<10)?'0':'')+days+' 天 '+((hours<10)?'0':'')+hours+' 时 '+((minutes<10)?'0':'')+minutes+' 分 '+((seconds<10)?'0':'')+seconds+' 秒 ';}// Update the content on the page
document.getElementById('run-time').innerHTML=runtimeText;}runtime();
Those who are interested can also check out this site’s complete custom.js.
Find <your blog folder>\layouts\partials\assets.html, and add the following code on the line above the {{- partial "plugin/analytics.html" . -}} at the very end:
<!DOCTYPE html><htmllang="zh"><head><metacharset="UTF-8"><metaname="viewport"content="width=device-width, initial-scale=1.0"><title>Sakana widget integration</title><style>/* Fix the Sakana widget to the bottom-left of the page */#sakana-widget-container{position:fixed;bottom:10px;left:10px;width:268px;height:268px;}#sakana-widget{width:100%;height:100%;}</style></head><body><divid="sakana-widget-container"><divid="sakana-widget"></div></div><script>functioninitSakanaWidget(){newSakanaWidget({size:300,autoFit:true,character:'chisato',controls:true,rod:true,draggable:true,stroke:{color:'#b4b4b4',width:10},threshold:0.1,rotate:0,title:false}).mount('#sakana-widget');// Detect the screen width on init
checkScreenWidth();window.addEventListener('resize',checkScreenWidth);}functioncheckScreenWidth(){varscreenWidth=window.innerWidth;varcontainer=document.getElementById('sakana-widget-container');if(screenWidth<=960){container.style.display='none';}else{container.style.display='block';}}</script><!-- Only initialize after the library finishes loading --><scriptasynconload="initSakanaWidget()"src="https://cdn.jsdelivr.net/npm/sakana-widget@2.2.2/lib/sakana.min.js"></script></body></html>
Heading styles
What I changed
The heading styles I changed:
H2 to H6 headings:
Font size shrinks step by step from 30.
Added interactivity — hover to enlarge.
Keeps each heading on its own line.
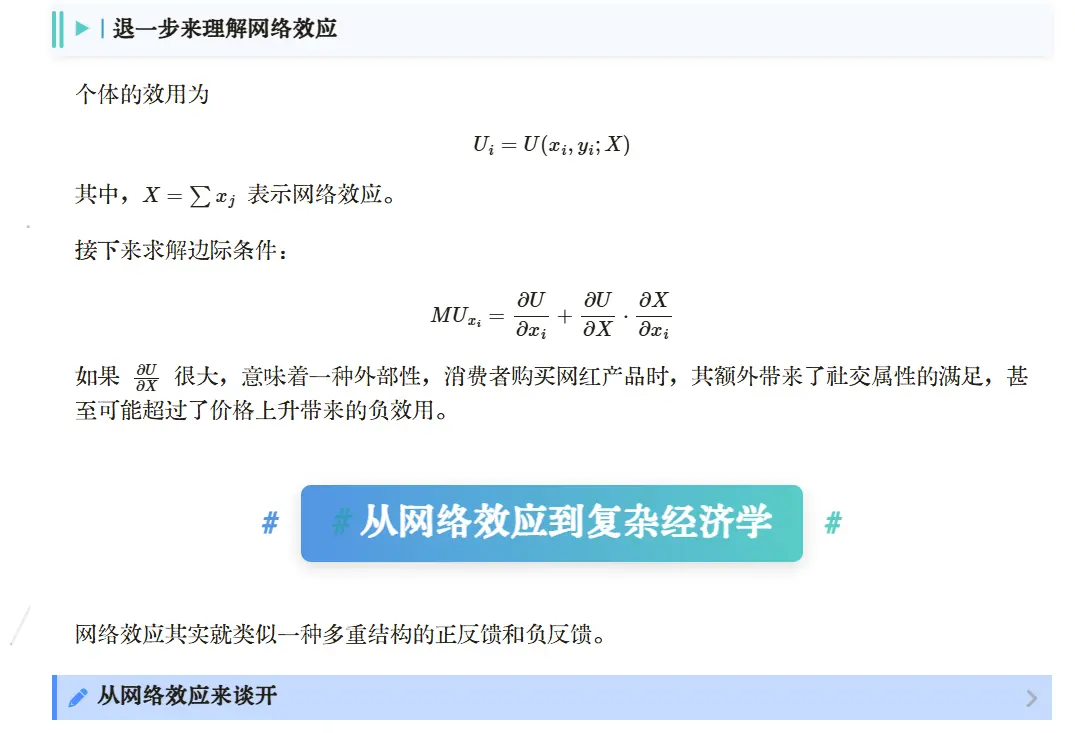
H2: shadow effect, gradient blue box + surrounded by #, centered
H3 to H6:
The lower the level, the more vertical lines. For example, the H4 heading (#### h4) in the image has two vertical lines on the left, while H3 has only one.
Headings are wrapped in a transparent box with a shadow effect.
Compatible with day/night mode switching.
H4 to H6: added an equilateral triangle as decoration.
The effect looks like this:
Result
How to change
In <your blog>\assets\css\_custom.scss, add the following:
If you previously customized heading styles, remember to delete them.
/* Headings **************************//* ====================================================================== *//* H2 heading: centered + gradient + left/right # decoration *//* ====================================================================== */.page.singleh2{position:relative!important;display:block!important;/* Make sure the heading is a block-level element occupying its own line */width:max-content!important;/* Let width adapt to content so margin: auto can center it */margin:2.5remauto!important;/* Center the block-level element */font-weight:bold!important;font-size:30px!important;line-height:1.4!important;color:#fff!important;background:linear-gradient(90deg,#4a90e2,#50c9c3)!important;border-radius:8px!important;padding:10px24px!important;text-align:center!important;/* --- Enhanced Shadow --- */box-shadow:04px12pxrgba(0,0,0,0.15)!important;transition:all0.3sease!important;/* Keep transition for smooth hover */}/* --- H2 Interactive Hover Effect --- */.page.singleh2:hover{box-shadow:08px20pxrgba(0,0,0,0.25)!important;/* Deeper shadow on hover */transform:scale(1.02)!important;/* Keep only the enlargement effect */cursor:pointer!important;}/* H2 Dark Mode Shadow */[data-theme="dark"].page.singleh2{box-shadow:05px15pxrgba(0,0,0,0.3)!important;}/* H2 Dark Mode Hover */[data-theme="dark"].page.singleh2:hover{box-shadow:08px25pxrgba(0,0,0,0.6)!important;}/* Hide the theme's auto-generated anchor */.page.singleh2.headerlink,.page.singleh2a.headerlink{display:none!important;}/* H2 left/right # decoration */.page.singleh2::before{content:"#"!important;position:absolute!important;left:-32px!important;top:50%!important;transform:translateY(-50%)!important;color:#4a90e2!important;font-weight:bold!important;font-size:1.4rem!important;}.page.singleh2::after{content:"#"!important;position:absolute!important;right:-32px!important;top:50%!important;transform:translateY(-50%)!important;color:#50c9c3!important;font-weight:bold!important;font-size:1.4rem!important;}/* ====================================================================== *//* H3-H6: left-aligned + multiple vertical lines for levels + light background + shadow + triangle symbol *//* ====================================================================== *//* Hide built-in anchor */.page.singleh3a.headerlink,.page.singleh4a.headerlink,.page.singleh5a.headerlink,.page.singleh6a.headerlink{display:none!important;}/* Common base styles */.page.singleh3,.page.singleh4,.page.singleh5,.page.singleh6{position:relative!important;display:block!important;margin:20px012px!important;line-height:1.5!important;font-weight:bold!important;border-radius:06px6px0!important;/* --- Transparent background for light mode --- */background:rgba(74,144,226,0.05)!important;/* --- Enhanced shadow for light mode --- */box-shadow:02px5pxrgba(0,0,0,0.08)!important;transition:all0.3sease!important;/* Keep transition for smooth hover */}/* --- H3-H5 Interactive Hover Effect --- */.page.singleh3:hover,.page.singleh4:hover,.page.singleh5:hover{transform:translateX(4px)!important;/* Move slightly to the right */background:rgba(74,144,226,0.1)!important;/* Increase opacity */box-shadow:04px10pxrgba(0,0,0,0.12)!important;/* Slightly stronger shadow */cursor:pointer!important;}/* Dark Mode General Styles */[data-theme="dark"].page.singleh3,[data-theme="dark"].page.singleh4,[data-theme="dark"].page.singleh5,[data-theme="dark"].page.singleh6{/* --- Lighter, transparent background for dark mode --- */background:rgba(255,255,255,0.08)!important;/* --- Stronger, darker shadow for dark mode --- */box-shadow:02px8pxrgba(0,0,0,0.3)!important;color:#E5E7EB!important;/* Ensures text is light */}/* Dark Mode H3-H5 Hover */[data-theme="dark"].page.singleh3:hover,[data-theme="dark"].page.singleh4:hover,[data-theme="dark"].page.singleh5:hover{transform:translateX(4px)!important;background:rgba(255,255,255,0.15)!important;/* Increase opacity */box-shadow:04px10pxrgba(0,0,0,0.5)!important;/* Stronger shadow */}/* H3: 1 vertical line */.page.singleh3{font-size:22px!important;padding:10px18px!important;}.page.singleh3::before{content:""!important;position:absolute!important;left:0!important;top:0!important;bottom:0!important;width:5px!important;background-color:#4a90e2!important;border-radius:3px003px!important;}/* H4: ▶ + 2 vertical lines */.page.singleh4{font-size:18px!important;padding:8px14px8px38px!important;/* Increased left padding for symbol */}/* Triangle Symbol */.page.singleh4::before{content:"▶"!important;position:absolute!important;left:18px!important;top:50%!important;transform:translateY(-50%)!important;font-size:12px!important;color:#50c9c3!important;}/* Two Vertical Lines (efficiently using box-shadow) */.page.singleh4::after{content:""!important;position:absolute!important;left:0!important;top:15%!important;/* Make lines shorter than heading height */bottom:15%!important;width:3px!important;background-color:#50c9c3!important;border-radius:2px!important;box-shadow:6px00#50c9c3!important;/* Creates the second line */}/* H5: ▶ + 3 vertical lines */.page.singleh5{font-size:16px!important;padding:6px14px6px42px!important;/* Increased left padding */}/* Triangle Symbol */.page.singleh5::before{content:"▶"!important;position:absolute!important;left:22px!important;top:50%!important;transform:translateY(-50%)!important;font-size:10px!important;color:#34495e!important;}/* Three Vertical Lines (using box-shadow) */.page.singleh5::after{content:""!important;position:absolute!important;left:0!important;top:15%!important;bottom:15%!important;width:2px!important;background-color:#34495e!important;border-radius:2px!important;box-shadow:5px00#34495e,10px00#34495e!important;/* Creates 2nd and 3rd lines */}/* NEW H6: ▶ + 1 dashed line */.page.singleh6{font-size:15px!important;padding:5px12px5px30px!important;background:none!important;/* Simpler style for H6 */box-shadow:none!important;border-radius:0!important;border-bottom:1pxsolid#eee!important;}[data-theme="dark"].page.singleh6{border-bottom:1pxsolid#444!important;}/* Triangle Symbol */.page.singleh6::before{content:"▶"!important;position:absolute!important;left:8px!important;top:50%!important;transform:translateY(-50%)!important;font-size:10px!important;color:#777!important;}[data-theme="dark"].page.singleh6::before{color:#888!important;}/* --- H6 Interactive Hover Effect --- */.page.singleh6:hover{transform:translateX(2px)!important;/* Smallest shift */color:#4a90e2!important;/* Highlight text color */cursor:pointer!important;}[data-theme="dark"].page.singleh6:hover{color:#50c9c3!important;}
Rendering math formulas in the blog
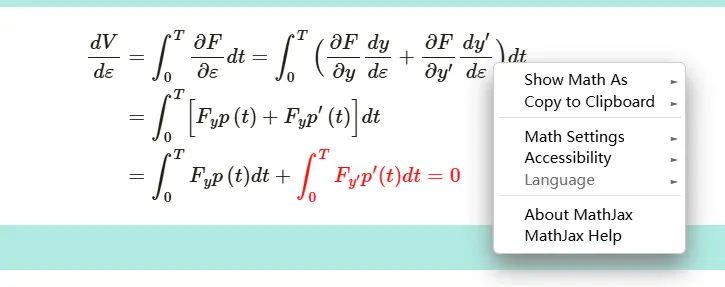
Although the LoveIt theme provides math formula support via KaTeX, I personally think the experience is not as good as MathJax.
To use MathJax, first create mathjax.html in <your blog>\layouts\partials.
mathjax.html: right-click on the site’s formulas to support copying the formula code.
{{ if .Params.math }}
<script>MathJax={tex:{inlineMath:[["$","$"]],},displayMath:[["$$","$$"],["\[\[","\]\]"],],svg:{fontCache:"global",},};</script><scriptsrc="https://polyfill.io/v3/polyfill.min.js?features=es6"></script><scriptid="MathJax-script"asyncsrc="https://cdn.jsdelivr.net/npm/mathjax@3/es5/tex-mml-chtml.js"></script>{{ end }}
Then add the call in <your blog>\layouts\partials\header.html:
1
{{ partial "mathjax.html" . }}
In each post, to enable math formula rendering, put this at the top:
1
Math = true
Since Hugo, when rendering Markdown documents, generates HTML based on syntax like _/*/>>, and some escaped-character text (like \(/\)/\[/\]/\\) gets escaped automatically, you need extra escape-character expressions in these places to enable automatic rendering:
But in my own experience, sometimes converting only half the commands in a formula is enough for it to render — how many commands to convert seems related to rendering complexity.
For example, I render $2\_i^\*-2_j^*$ — $2_i^\*-2_j^*$, and since the formula is simple, it renders the same whether or not I convert the commands.

 滑翔闪 included in Hugo Customization and Hugo Customization