
Optimize Your TexStudio Editing Experience

For Chinese-speaking users, there is probably nothing more frustrating than wanting to type $$ but ending up with ¥¥ due to not switching input methods in time.
Although there are now a series of $\LaTeX$ online compilation websites like overleaf, texpage, slager, they still struggle to provide convenience for this issue. Online rendering is becoming increasingly restrictive. If you want to try compiling larger, more complex, or longer documents without paying, local software is always the best choice (as long as there is no need for collaborative editing), which also means greater freedom.
- For $\LaTeX$ tutorials, see How to Get Started with LaTeX in 1 Hour?
Macro Commands
For Chinese-speaking $\LaTeX$ users, there is probably nothing more frustrating than wanting to type $$ but ending up with ¥¥ due to not switching input methods in time.
What kept me using Obsidian is its extremely convenient writing plugins:
- Quick commands:
commander,editing toolbar - Image conversion:
image converter - Writing enhancement:
easy typing - …
Especially the writing enhancement plugin easy typing, which supports custom completions, automatic spacing between Chinese and English, seamless Chinese-English character switching—for example, typing ¥¥ twice will automatically become $$.
So the question is, how to make TexStudio achieve the same functionality?
The answer is custom macros. TexStudio supports custom macro definitions. For detailed syntax, refer to the official documentation Personal macros.
Normal mode macros can be understood as text transformation and completion. I write ¥¥¥¥ in the trigger (note: intentionally leaving a space at the end). %| represents the cursor position after completion.
Personal macros can also have custom shortcuts. For example, in the image below, I set Ctrl+M as the shortcut for inserting $$. When I type ¥*2 (space), it will also automatically trigger the transformation.
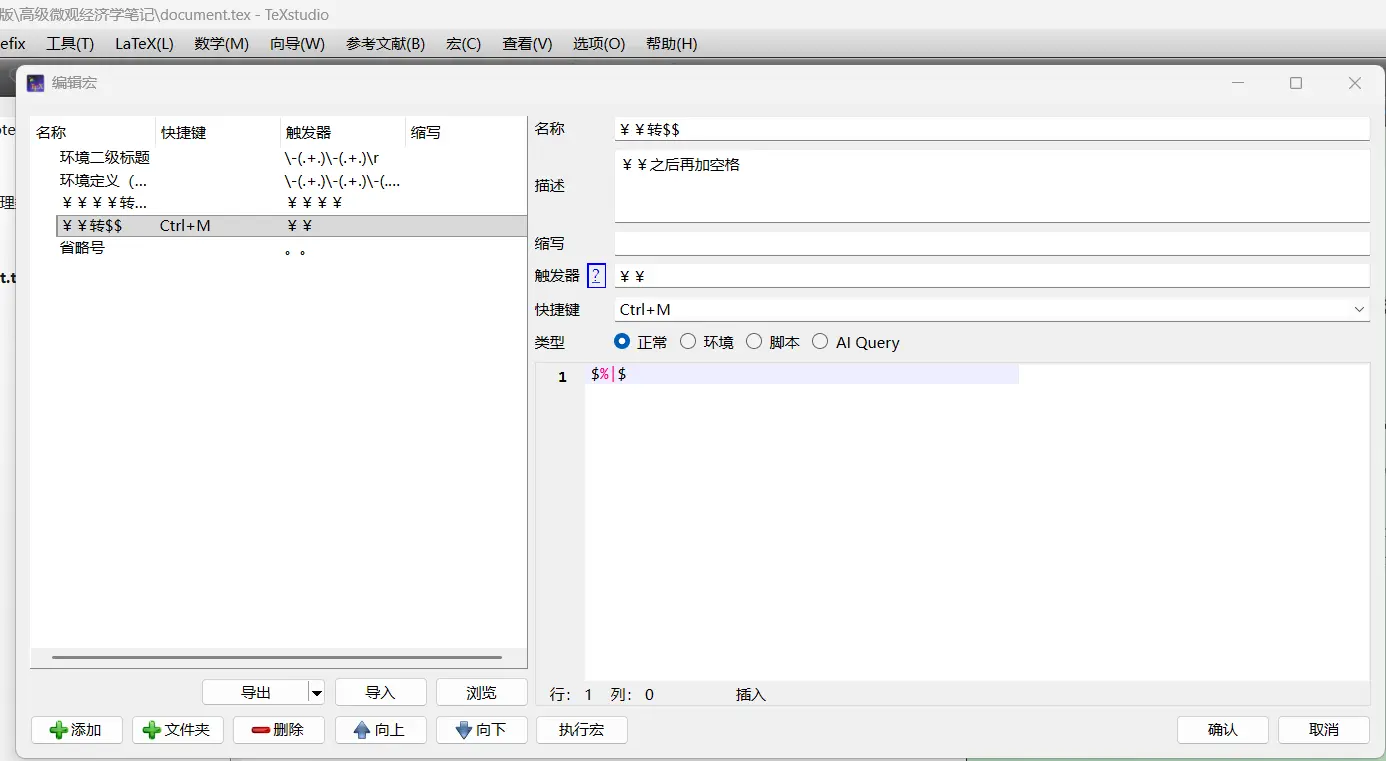
Personal macros also support script sequences. If you know how to use them, you can create various tricks (like chained transformations). Therefore, when writing macros, pay attention to the order—place macros with stricter regular expression checks above. For example, ¥¥¥¥ to $$$$ should be placed before ¥¥ to $$.
Environment mode feels quite redundant and can be completely replaced by normal mode.
Script mode is more flexible and supports the JavaScript language.
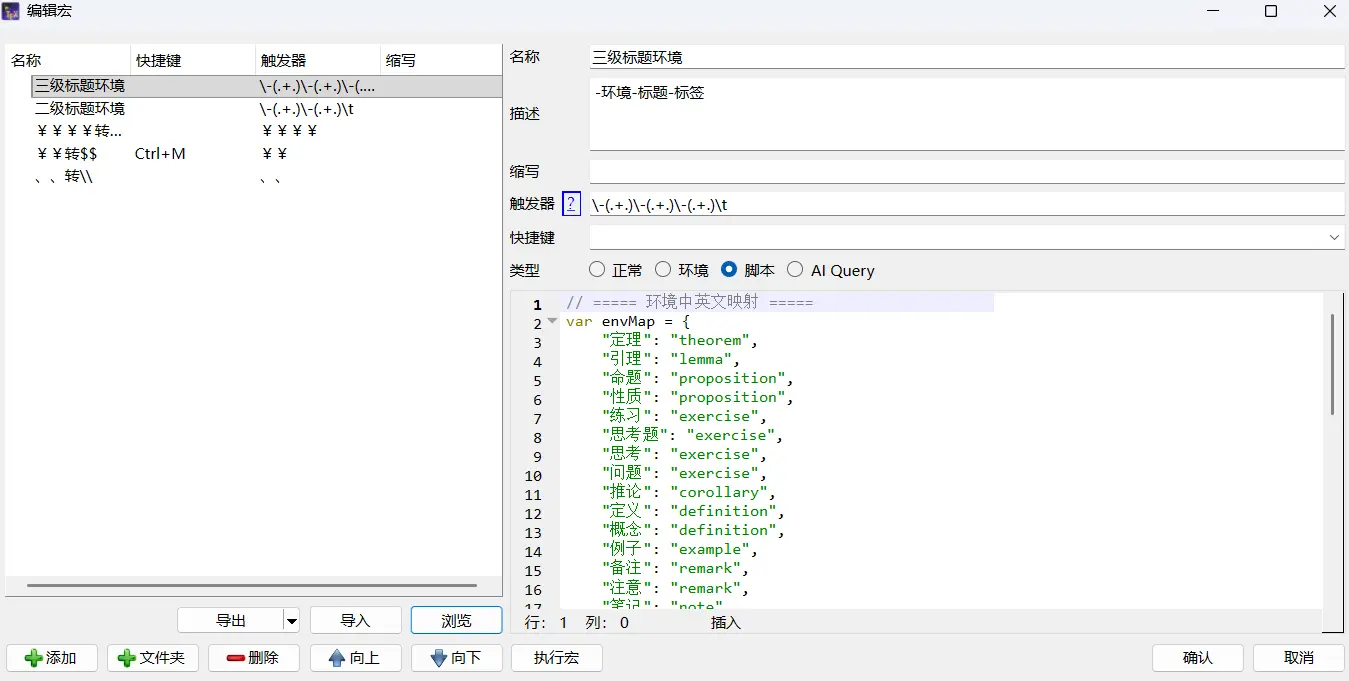
I wrote one that can transform content in the format -content1-content2-content2 (tab key) into code:
|
|
I also further set up a mapping: if content1 is “证明”, it transforms to “proof”; if it’s “概念”, it transforms to “definition”.
The code is as follows:
|
|
The trigger is set as:
|
|
The logic isn’t difficult either. The three parentheses in the trigger’s regular expression correspond to env, title, and label in the code. Fill them into the code template, then move the cursor. (The only problem is that TexStudio’s regular expression recognition has poor compatibility with Chinese characters.)
Configuring Language Assistant in TexStudio
TexStudio page.
First, download Java (please find tutorials yourself).
Then download the free grammar checking assistant—https://languagetool.org/download/
Download the version corresponding to your computer. I’m using Windows system with the latest TexStudio, so I chose LanguageTool-6.6.zip.
After downloading, extract the corresponding LanguageTool zip file. Open cmd in the corresponding folder page (just type cmd in the address bar to open it from here).
Then run java -jar languagetool.jar
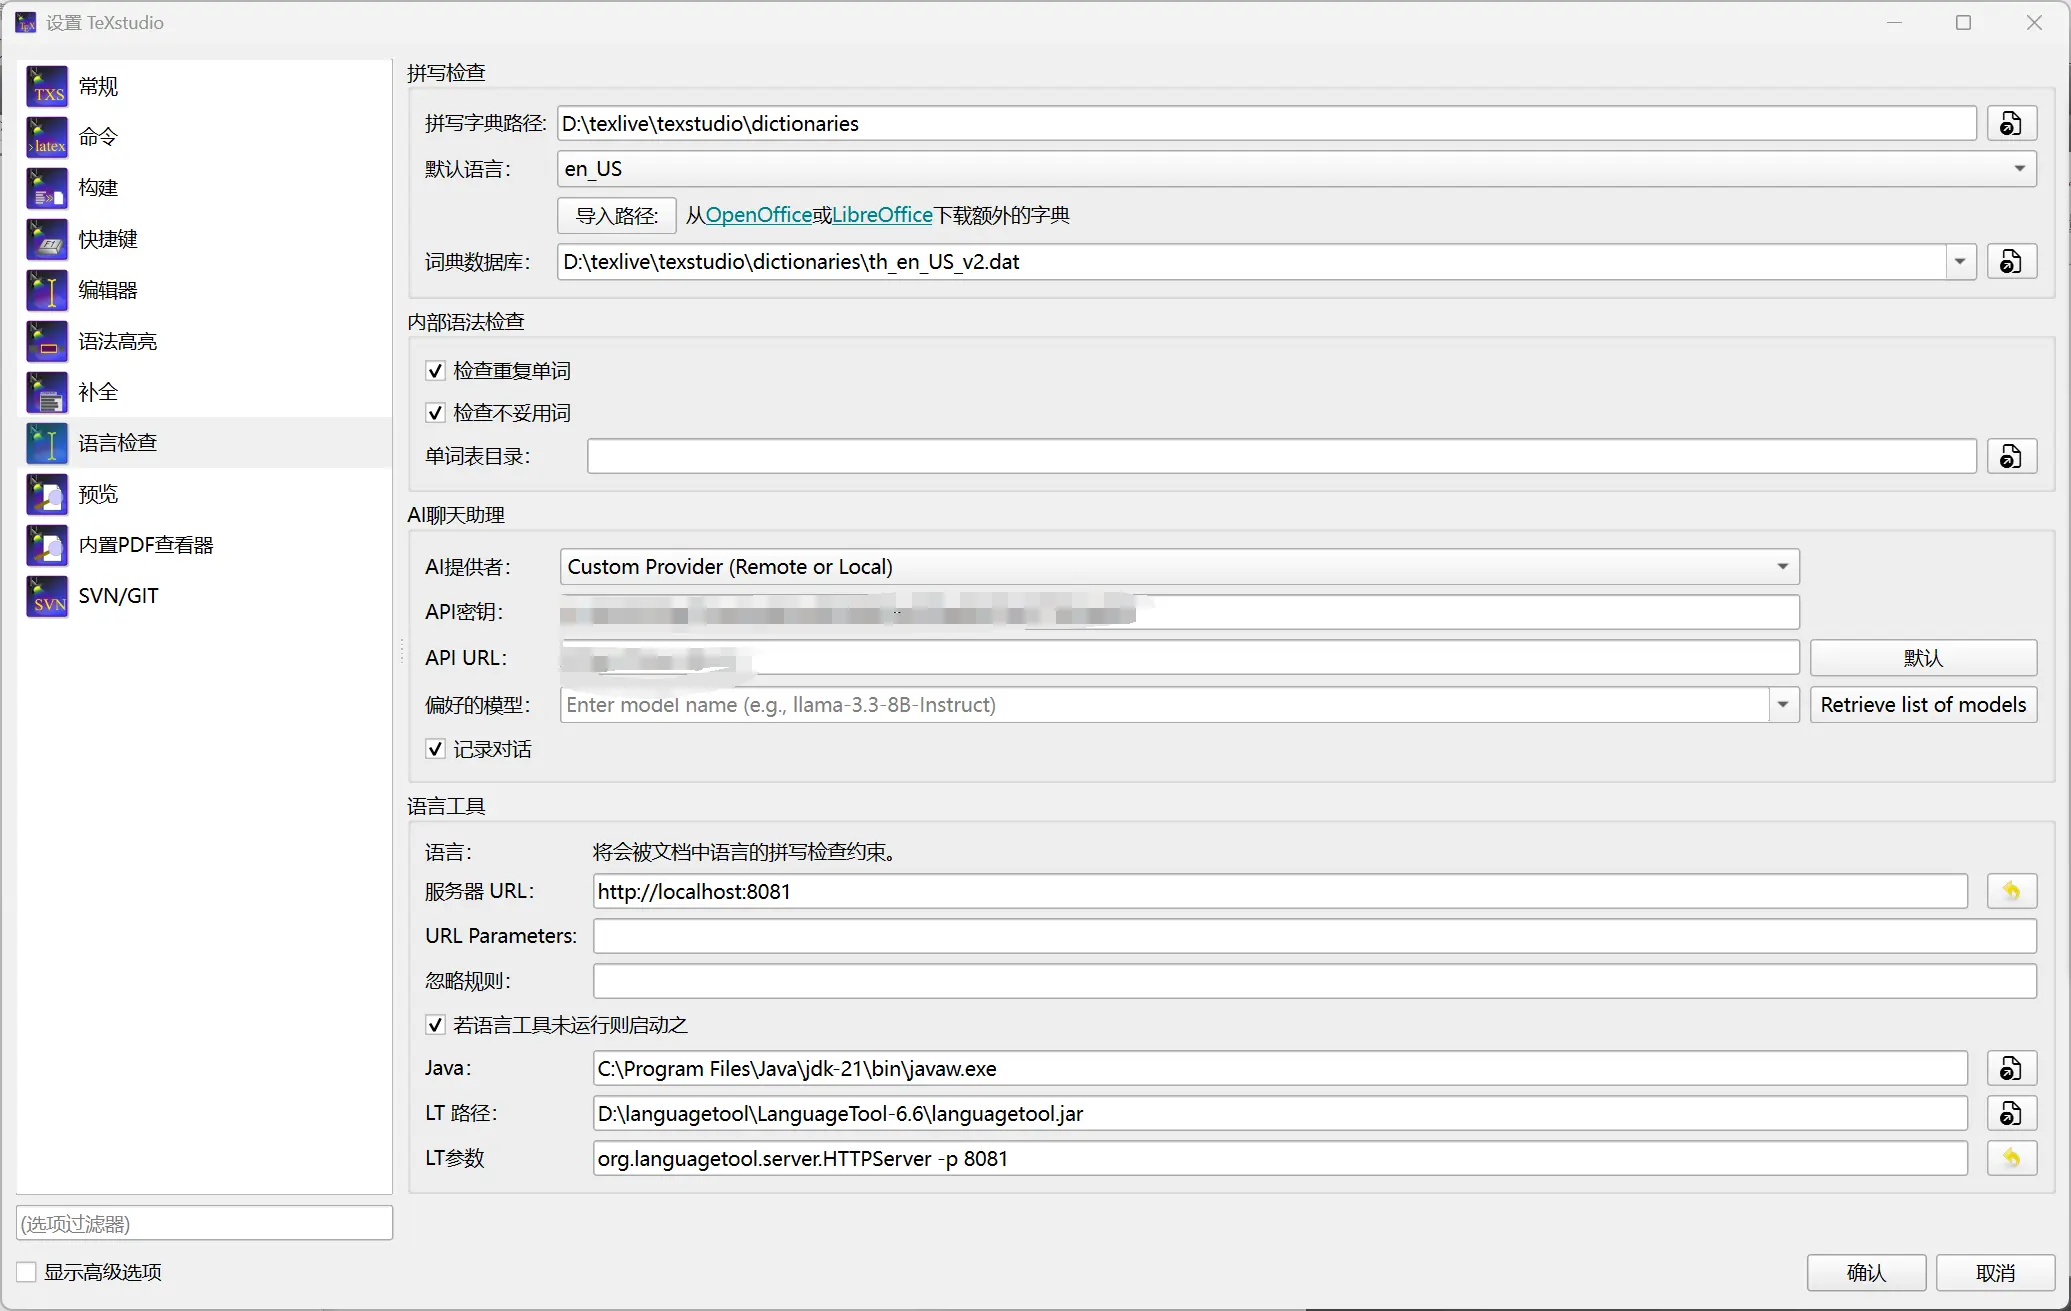
After opening, go to text checking - options to enter the page, set language, server port.
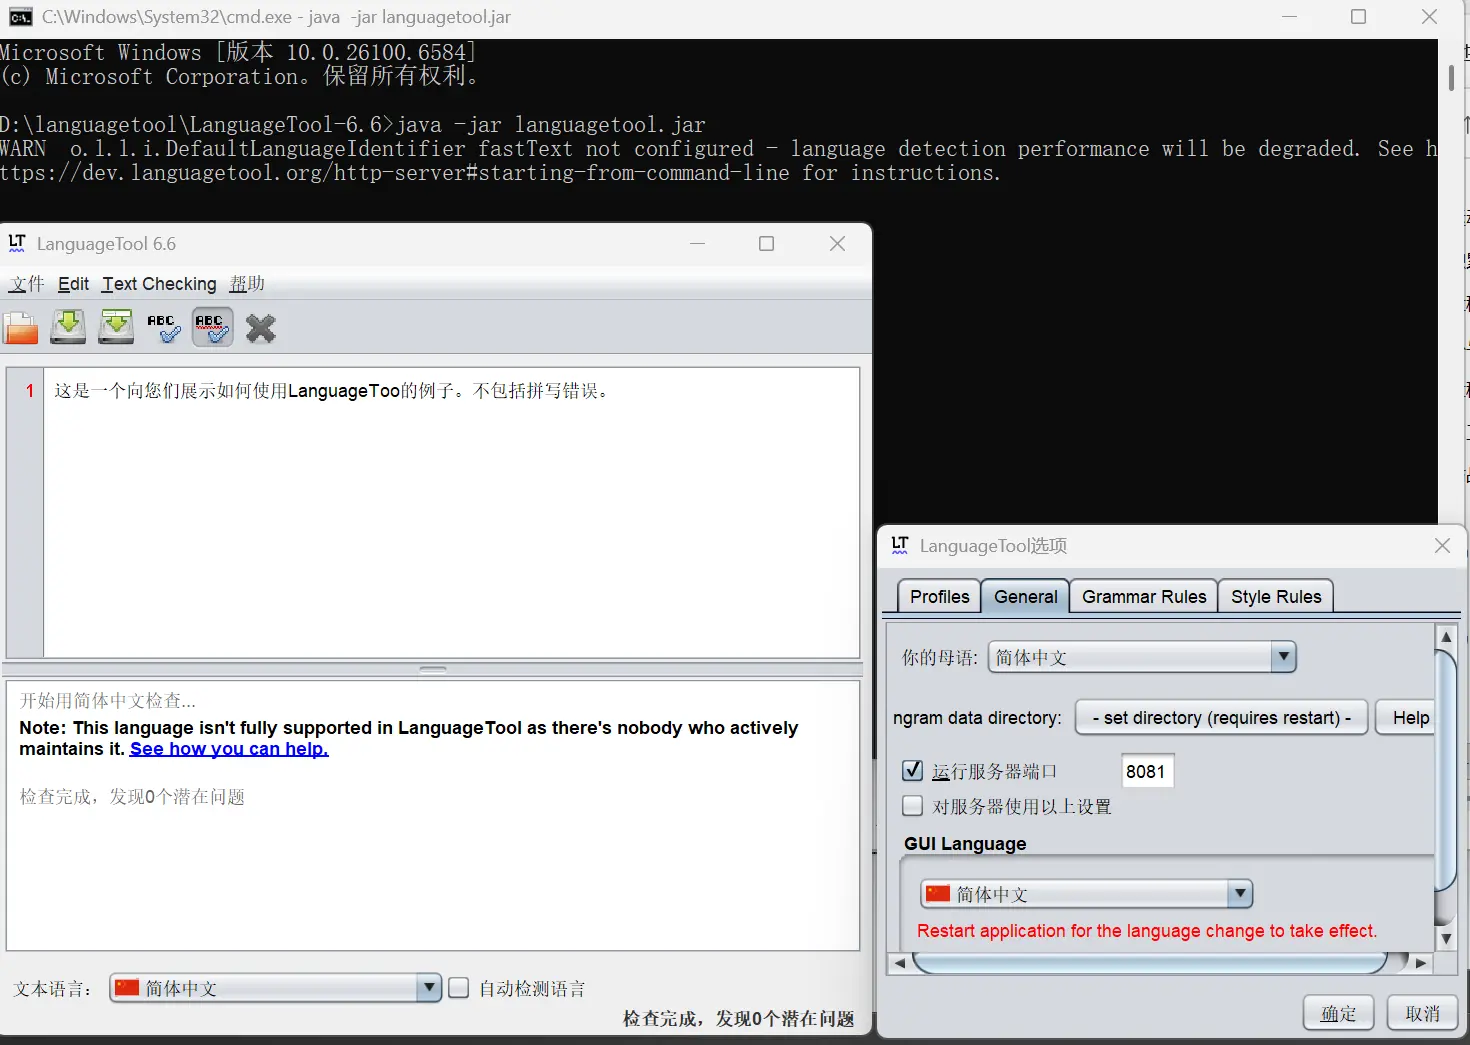
After setting up, go to the LanguageTool section at the bottom of TexStudio settings.
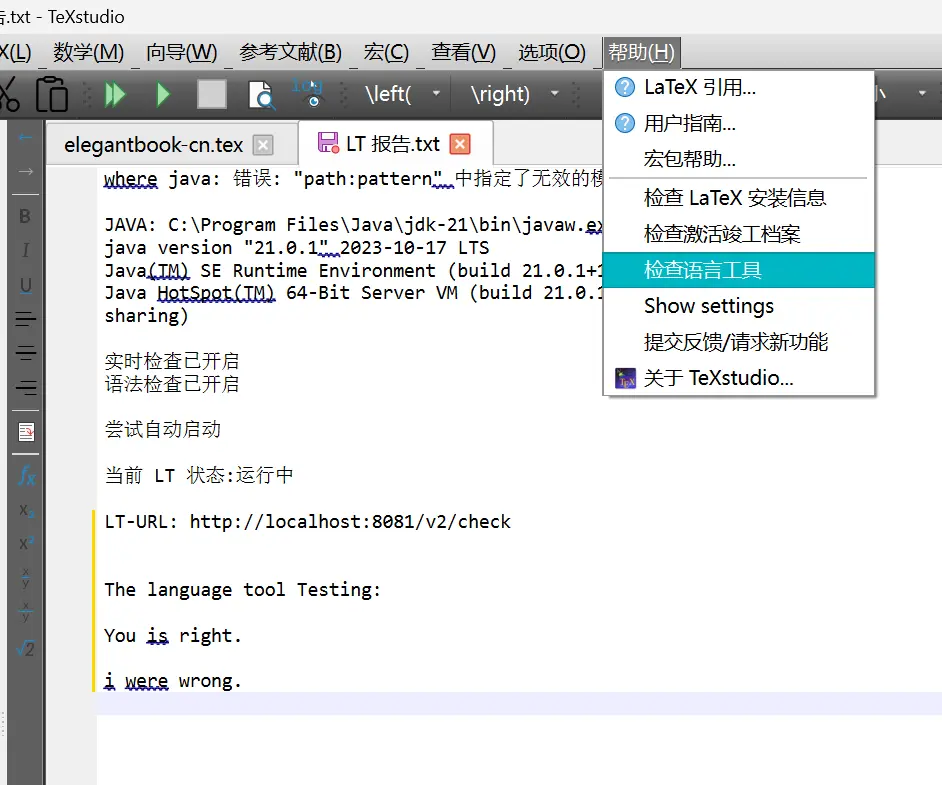
After restarting TexStudio, you can check the language tool in help:
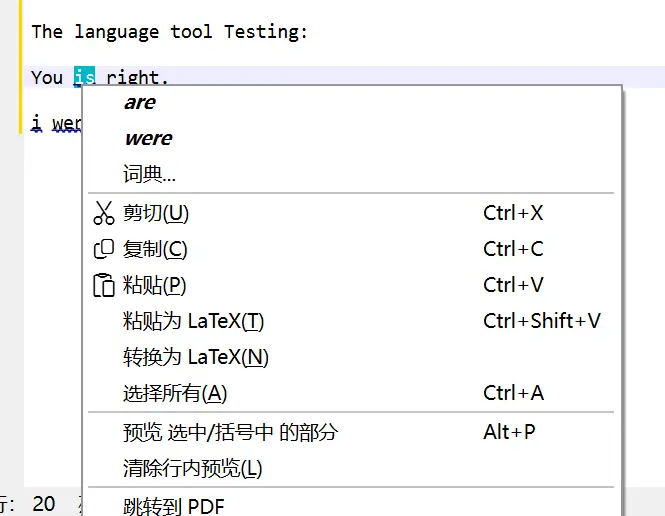
The wavy lines correspond to grammar errors.
Right-click on the error location for correction suggestions:
Some Keyboard Shortcuts
Ctrl+ Left Mouse Click: Quickly navigate (jump to source code or corresponding PDF position).Ctrl+Shift+I: Quickly add\item(for list environmentsitemize/enumerate).Ctrl+T: Quickly add/remove comments (for current line or selected multiple lines).Ctrl+Shift+M: Quickly add inline code, for example, add$ x $at cursor position.Ctrl+Shift+N: Addequationenvironment (e.g.,\begin{equation} ... \end{equation}).Alt+Shift+M: Add displayed code (usually math environment, e.g.,$$...$$or\[ ... \]).
Other Tips
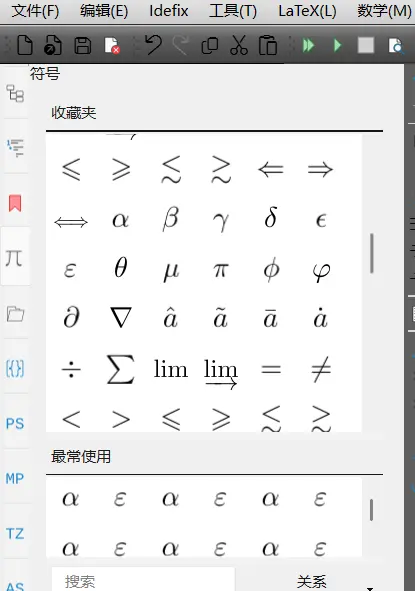
Make good use of the symbol collection function in the left column.
Right-click in the code editing page to jump to PDF rendering position.
Press Ctrl key and click on PDF position to jump to code editing position.
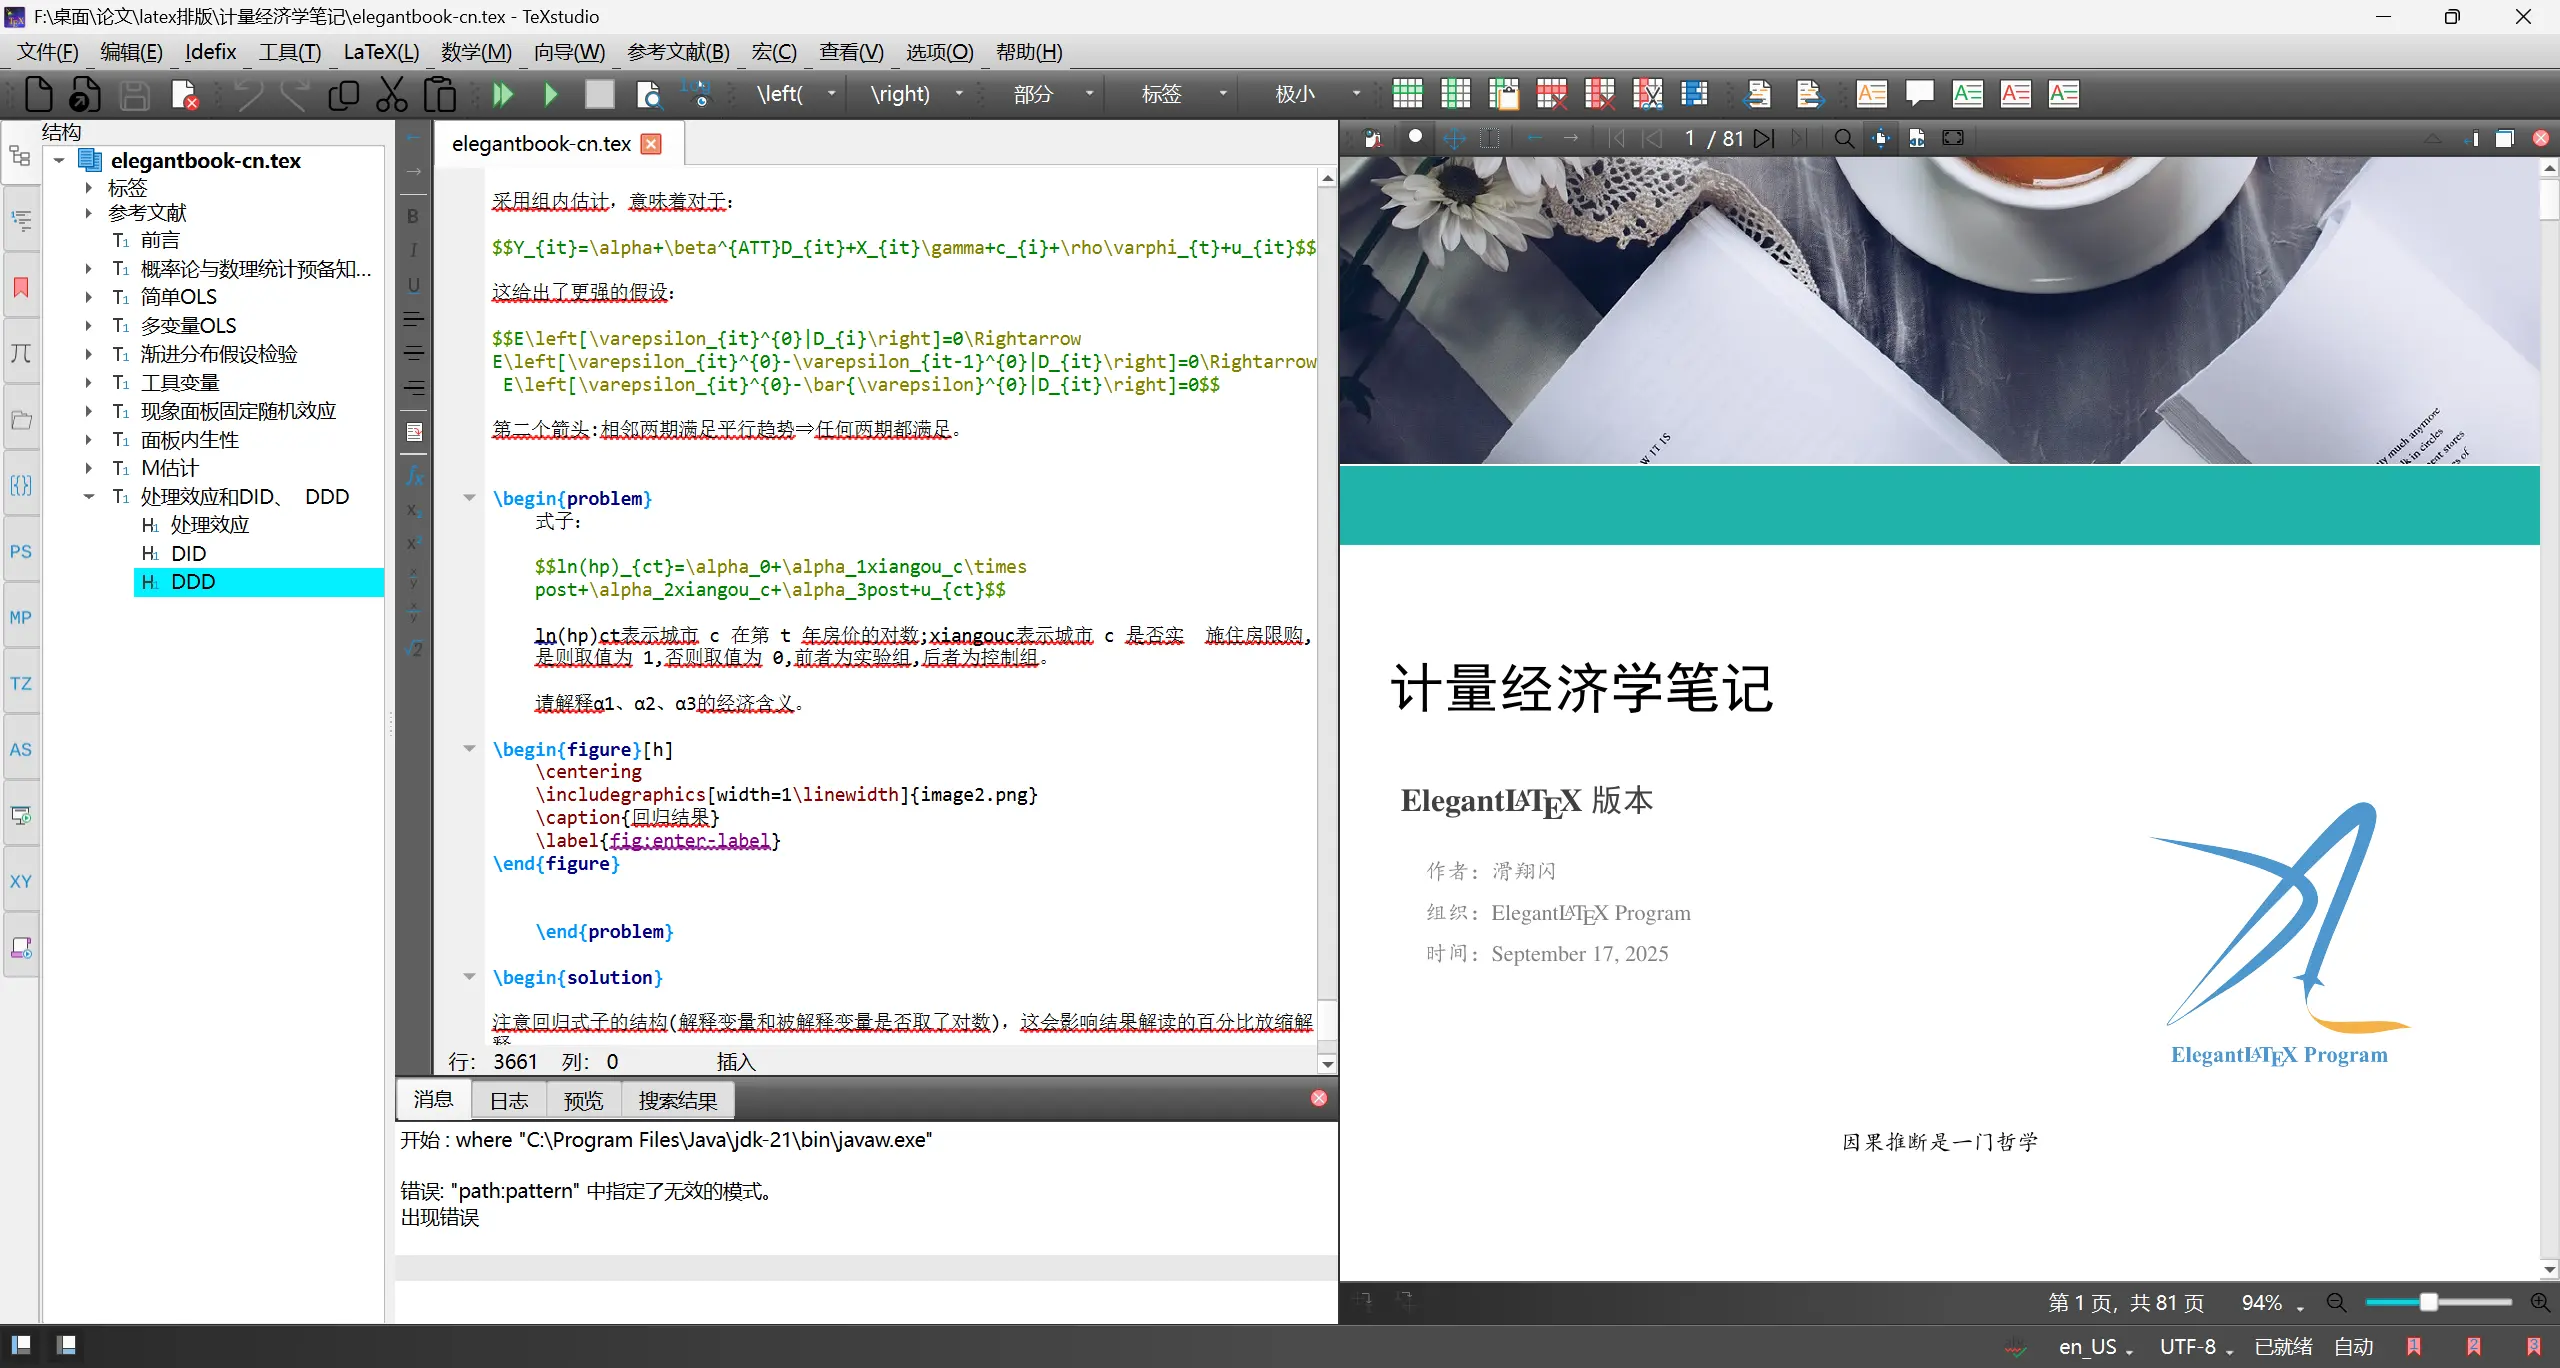
TexStudio supports inline preview. Alt+P to start, but it may conflict with other template rendering settings. For example, when I use the Elegant series template, I cannot view the preview.
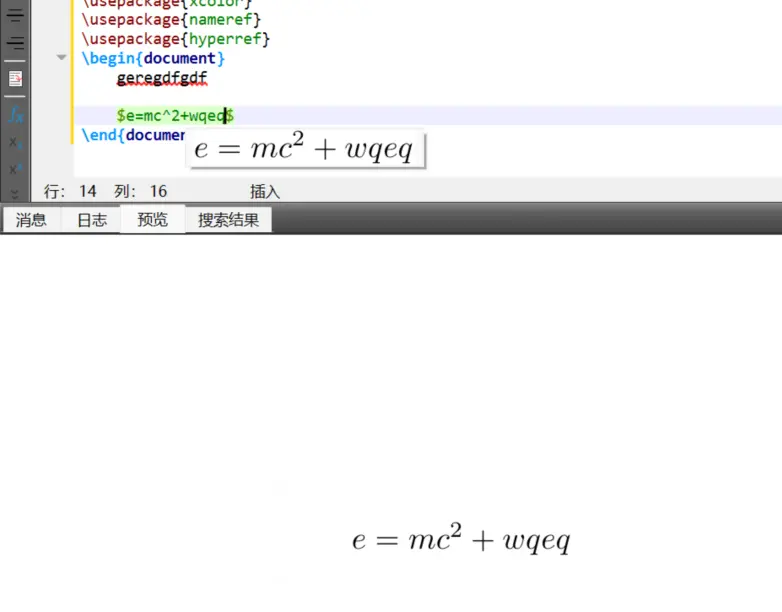
Alt+P to start